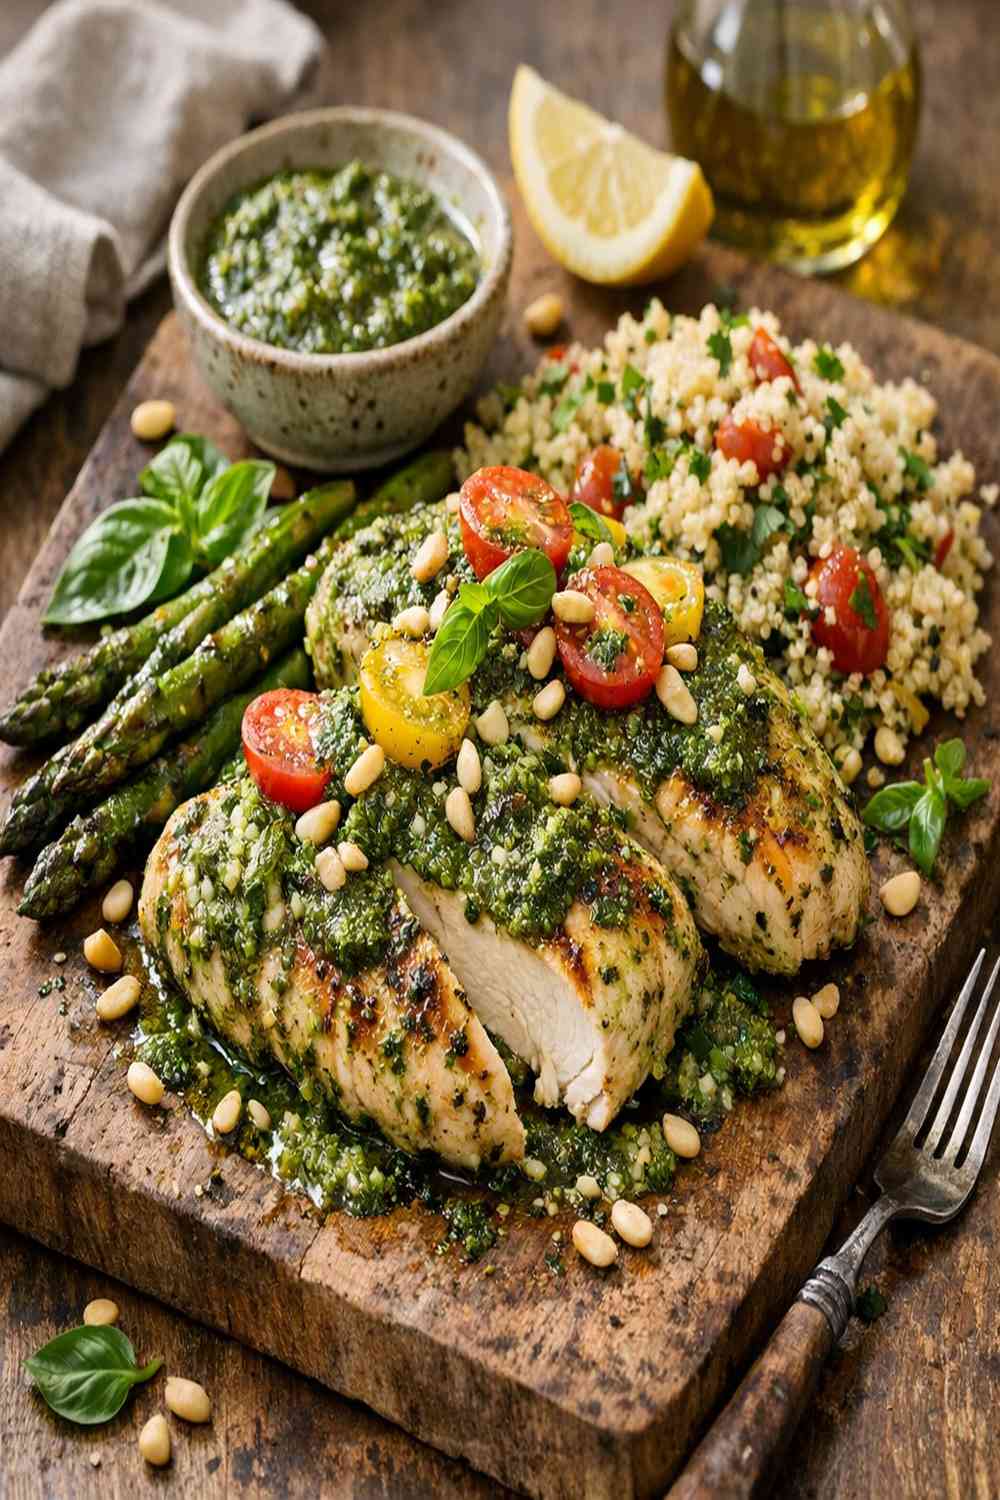

Ingredients
Method
Step 1: Prepare Your Chicken for Marinating
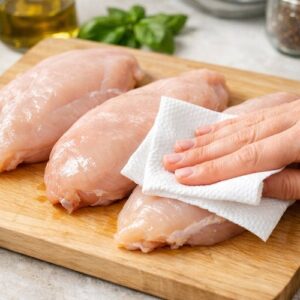
- Take your pound of chicken breasts and place them on a clean cutting board. Pat them completely dry with paper towels—this is the detail most beginners miss, and it matters. Wet chicken won't absorb the marinade as effectively. Now, look at the thickness: are both breasts roughly the same size? If one looks noticeably thicker (more than ½-inch difference), you need to pound it. Place the thicker breast between two pieces of plastic wrap and use the flat side of a meat mallet to gently tap it until it's even. This ensures even cooking. Open your Ziploc bag and pour in 2 tablespoons of basil pesto directly into the bottom. Place the chicken breasts on top of the pesto. Do not seal the bag yet. This is important because you're about to work the pesto into the chicken, and you need access.
Step 2: Coat the Chicken in Pesto Marinade
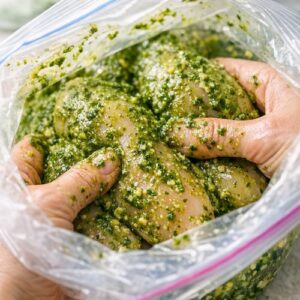
- Here's where technique matters: gently massage the pesto over every surface of each chicken breast. Use your hands (yes, inside the bag) to work it in. Think of it like giving the chicken a light massage—you're not aggressively forcing pesto into the meat, just ensuring every part is coated. The pesto should look like it's stuck to the chicken, not pooling at the bottom of the bag. This takes about two minutes of gentle work. Once both breasts are coated, seal the Ziploc bag and place it in the refrigerator. The minimum time is one hour, but overnight is ideal. If you're in a rush, even 30 minutes helps. The salt in the pesto is already beginning to season the meat at a cellular level, which keeps it incredibly juicy when cooked.
Step 3: Prepare Your Sauce Ingredients While the Chicken Marinates
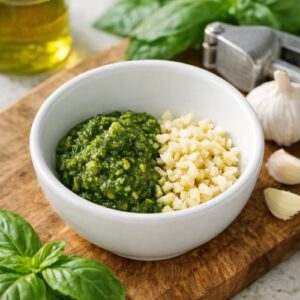
- While the chicken is marinating, you can get ahead. Take a small mixing bowl and gather these ingredients: 1 tablespoon fresh basil pesto, 2 minced garlic cloves, 1 tablespoon cornstarch, ¾ cup unsweetened almond milk, and a pinch of kosher salt and black pepper. Don't whisk them together yet—that comes right before you need the sauce. If you whisk too early, the cornstarch will begin to hydrate and won't incorporate smoothly.
Step 4: Get Your Pan Ready
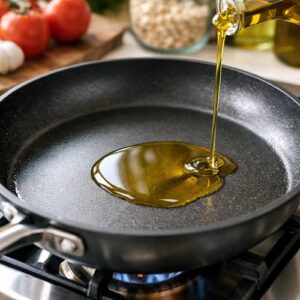
- When you're ready to cook, place your large nonstick skillet on the stove over medium-high heat. Add 2 tablespoons of extra virgin olive oil. Wait for the oil to shimmer—this means it's hot enough. Here's the test: hold your hand about 3 inches above the pan (not touching it). If you feel distinct heat in about 3 seconds, the pan is ready. If you've never tested pan temperature before, this feels uncertain, so let me be clear: when the oil moves freely in the pan and has a slight shimmer, not quite smoking, you're there.
Step 5: Sear the Chicken to Golden Perfection
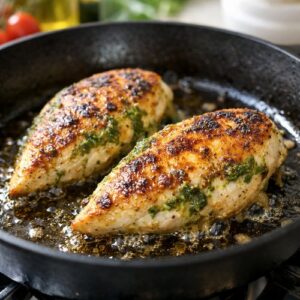
- Remove the chicken from the refrigerator. Gently place both breasts in the hot oil. Do not move them immediately. This is the mistake that ruins chicken. Let them sit for 5 minutes without touching them. During this time, the bottom is developing a golden-brown crust through a process called the Maillard reaction—that's where the flavor comes from. Your kitchen will smell incredible. After 5 minutes, flip each breast once. Cook the second side for another 5 minutes. The chicken should release easily from the pan—if it's sticking, it's not done browning yet, so wait another 30 seconds. By the end, both sides should be deep golden brown. Don't worry if it's not perfectly brown; it still tastes amazing.
Step 6: Whisk and Add Your Sauce
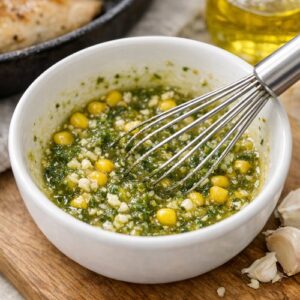
- While the chicken is searing, whisk together your sauce ingredients in that small bowl: 1 tablespoon pesto, 2 minced garlic cloves, 1 tablespoon cornstarch, ¾ cup almond milk, salt, and pepper. Whisk vigorously for about 30 seconds until the cornstarch is completely dissolved and there are no lumps. A lumpy sauce is one of the most common beginner mistakes, and it's completely preventable with thorough whisking. Once the chicken has finished its second side, pour this sauce directly over the chicken in the pan. Add the 2 cups of halved cherry tomatoes around and over the chicken. The sauce will seem thin—that's exactly right. Trust the process.
Step 7: Simmer Until the Sauce Thickens and Tomatoes Burst
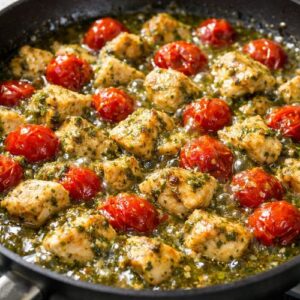
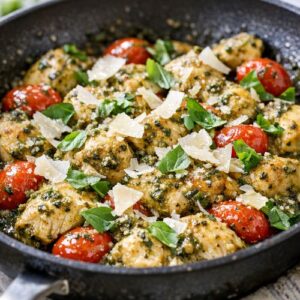
- Reduce the heat to medium-low. Simmer for 5 to 6 minutes without covering the pan. This is when the magic happens: the cornstarch gelatinizes and thickens the sauce, and the cherry tomatoes heat through and begin to burst. You'll see the sauce go from thin to creamy and coat the back of a spoon. This visual change is how you know you're done. About halfway through simmering, give the pan a gentle shake or stir to ensure the tomatoes are heating evenly. The chicken should reach 165°F internally (use that meat thermometer if you have it, or check the thickest part for no pink). By this point, it definitely will be.
Step 8: Garnish and Serve
- Remove the pan from heat. Top with freshly shaved Parmesan cheese and torn fresh basil leaves. The warm sauce will soften the Parmesan slightly, creating pockets of creamy flavor. Serve immediately over your choice of side—rice, pasta, roasted vegetables, or simply on its own.
Notes
- 3 tablespoons basil pesto, divided (store-bought is fine; Banza and Barilla make excellent versions, or make your own if you have fresh basil on hand)
- 2 tablespoons extra virgin olive oil (cold-pressed, first-press creates better flavor; this is not the time to use light olive oil)
- 1 pound boneless, skinless chicken breasts (look for breasts that are roughly the same thickness; if one is significantly thicker, gently pound it to ½-inch even thickness so it cooks evenly)
- Freshly shaved Parmesan cheese (use a vegetable peeler to create thin shards; pre-grated has anti-caking agents that affect meltability)
- ¾ cup unsweetened almond milk (or any plant-based milk you prefer; oat milk creates a slightly richer sauce, while almond milk is more neutral)
- Kosher salt and freshly ground black pepper (to taste; never use pre-ground pepper from a container older than 6 months—the flavor genuinely fades)