
Ingredients
Method
Step 1: Prepare Your Oven and Pan
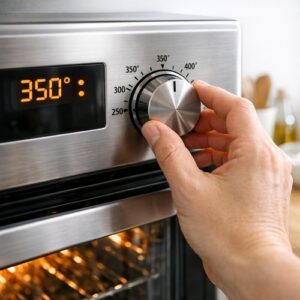
- Start by preheating your oven to 350°F (177°C). This moderate temperature is critical for gluten free baked goods—higher heat can cause the exterior to set before the interior bakes through, creating a dense center. While the oven heats, thoroughly spray a 4x8 inch loaf pan with cooking spray, making sure to coat the bottom and all four sides. This prevents sticking and makes removal effortless. Some bakers line with parchment paper for extra insurance; I find this unnecessary with proper spraying, but it's an excellent make-ahead step if you're prepping multiple pans the night before an event.
Step 2: Mash and Combine Your Bananas
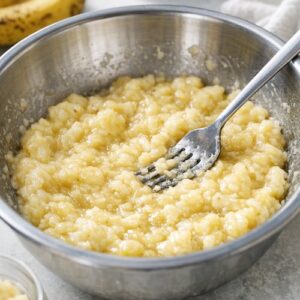
- In a large mixing bowl, add your mashed bananas—I use a fork to break them down completely until you have a mostly smooth consistency with just a few small banana pieces remaining. Immediately add the baking soda and stir thoroughly. You'll notice the mixture bubble slightly as the baking soda reacts with the bananas' acids; this is exactly what you want. This reaction contributes to lift and tenderness. If you're scaling this recipe, mash bananas directly in the bowl before measuring to ensure accurate portions. Let this sit for exactly 1-2 minutes while the reaction settles.
Step 3: Incorporate Your Wet Ingredients
- Pour the melted butter (cooled for about 3-4 minutes so it doesn't cook your eggs) into the banana mixture and stir until combined. The batter should look smooth and glossy at this point. Next, add your beaten eggs, stirring constantly to incorporate them evenly. The mixture will lighten slightly. Add the vanilla extract and stir well. At this stage, if you're making this for someone with nut allergies, you'd already be planning ahead—this is an excellent point to assess allergen concerns before proceeding to dry ingredients.

Step 4: Combine Dry Ingredients and Finish Your Batter
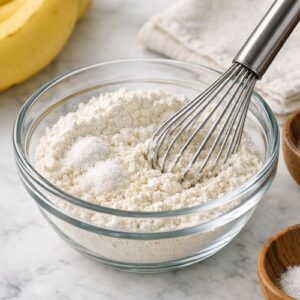
- In a separate small bowl, whisk together your gluten free flour blend, xanthan gum (only if needed—check your flour's label first), and salt. Whisking instead of just stirring helps distribute the xanthan gum evenly, which prevents lumps in your finished loaf. Gently fold the dry ingredients into your wet ingredients using a spatula or wooden spoon—fold rather than stir to avoid overmixing, which can develop toughness even in gluten free baking. Fold just until no flour streaks remain. If you're adding nuts or cinnamon, fold them in at this final moment.
Step 5: Transfer Batter and Bake
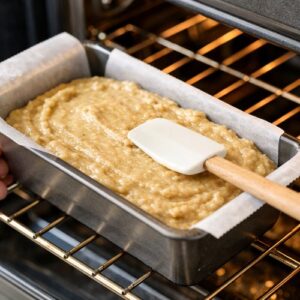
- Pour your batter into the prepared loaf pan, smoothing the top gently with a spatula. Place the pan on the center rack of your preheated oven. Bake for 50 minutes to 1 hour, checking at the 50-minute mark with a toothpick inserted into the center. The toothpick should come out clean or with just a few moist crumbs—not wet batter. Every oven bakes differently based on calibration and air circulation, so this is critical. If the top begins browning too quickly, tent with foil during the final 15 minutes. Remove from the oven when a toothpick test succeeds, and the loaf should spring back slightly when lightly pressed.
Step 6: Cool and Serve
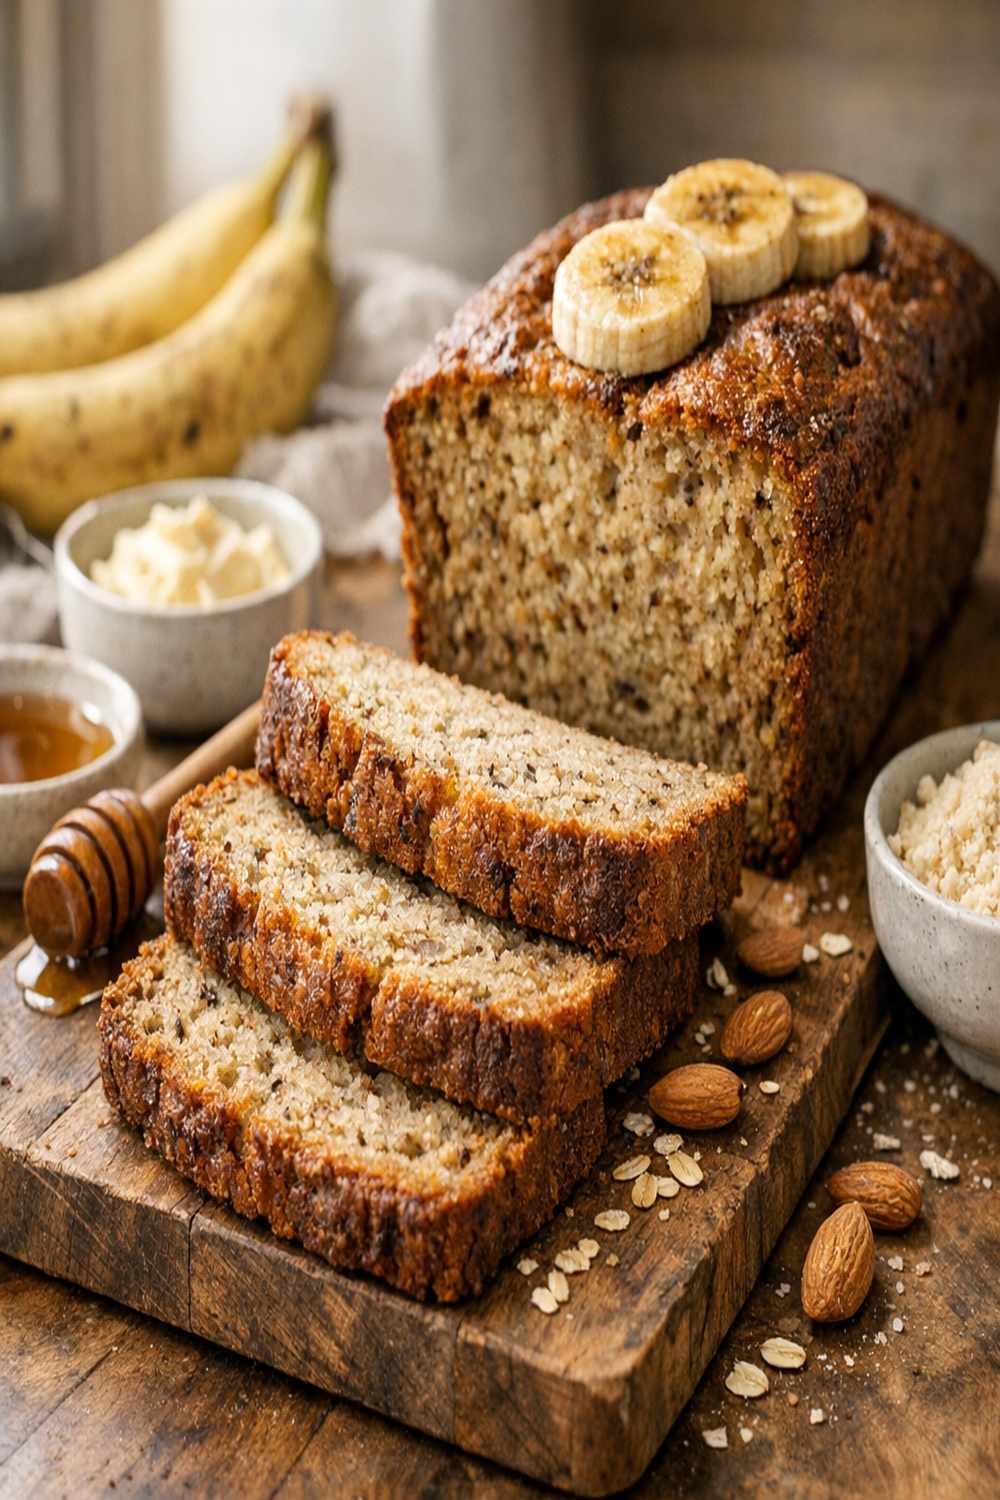
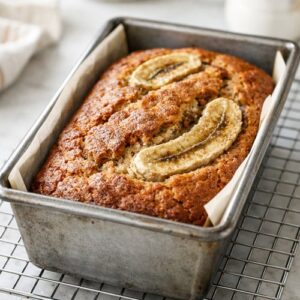
- Allow the banana bread to cool in the pan for approximately 10-15 minutes. This resting period allows carryover cooking to finish and the crumb structure to set. Run a thin knife around the edges of the pan and invert onto a wire cooling rack. The bread should release easily if you've sprayed properly. Allow it to cool completely before slicing—I know the aroma is tempting, but slicing warm bread can cause crumbling. Completely cooled bread slices cleanly and beautifully, revealing that tender, moist crumb everyone will love.
Notes
- Using Under-Ripe Bananas - I cannot overstate this: under-ripe bananas lack sufficient sugar and moisture. They're still yellow, while perfect bananas for this recipe display brown spots. This directly impacts both texture and flavor. If you must use less-ripe bananas, increase sugar to 1 cup and reduce the amount to 2 bananas to prevent excessive moisture.
- Overmixing Your Batter - This is THE most common error I see, especially from home bakers accustomed to standard recipes. Overworking gluten free batter overdevelops the xanthan gum's binding properties, creating a dense, gummy loaf instead of the tender crumb you're after. Fold gently, stopping the moment flour streaks disappear. A few small lumps are fine.
- Neglecting to Check Your Flour's Xanthan Gum Content - Many gluten free all-purpose flour blends already include xanthan gum. Adding additional xanthan gum without checking creates that rubbery texture that gives gluten free baking a bad reputation. Read your flour label carefully. If your flour contains xanthan gum, skip the additional ¼ teaspoon entirely.
- Slicing While Warm - Gluten free cakes and quick breads require complete cooling before slicing. The crumb structure sets as it cools, and slicing warm bread causes crumbling and uneven slices. This requires patience, but it transforms your presentation from rustic to polished.
- Opening the Oven Door Before 50 Minutes - Gluten free baked goods are more sensitive to temperature fluctuations than traditional baked goods. Resist the urge to peek before the 50-minute mark. Use your oven window or wait until it's time to check with the toothpick test.