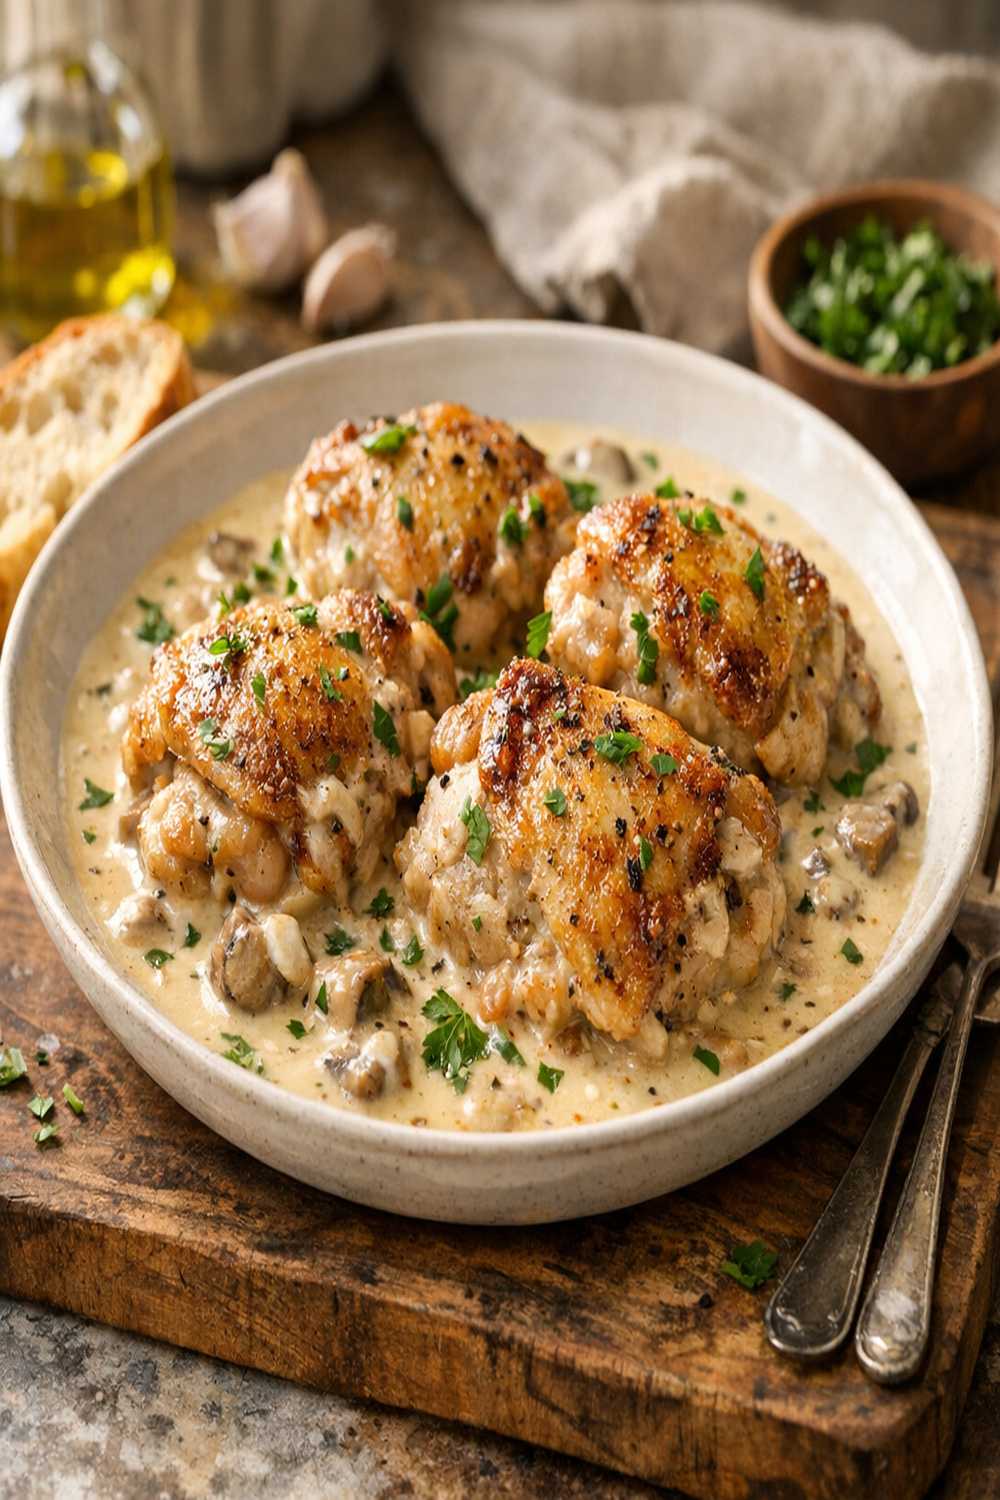

Ingredients
Method
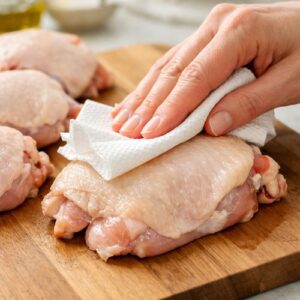
Step 1: Pat Your Chicken Thighs Completely Dry
- This is where French precision meets California efficiency. Using a clean paper towel, pat each thigh on both sides until there's no visible moisture. This step is non-negotiable—moisture on the chicken surface creates steam in the pan, which prevents the crust from forming. You're not just cooking chicken; you're engineering the Maillard reaction that creates the foundation of your sauce's flavor. Dry skin means crispy skin, and crispy skin means your sauce will have those golden, caramelized bits to build upon. Your pantry choice matters here: I recommend paper towels that are slightly thicker because they don't shred into the chicken.
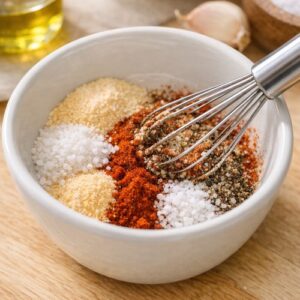
Step 2: Season with Intention
- In a small bowl, whisk together your garlic powder, onion powder, smoked paprika, kosher salt, and freshly cracked black pepper. The reason I combine these before applying is that it ensures even distribution—you're not accidentally getting pockets of concentrated paprika. This seasoning blend is the French technique of layering flavor components. Now, rub this mixture generously across both sides of each thigh, getting it into the crevices and under the skin where it can contribute to the overall flavor profile. As a dietitian, I appreciate that this approach lets us build profound taste without excess sodium—the aromatic powders do heavy lifting that salt alone cannot accomplish.
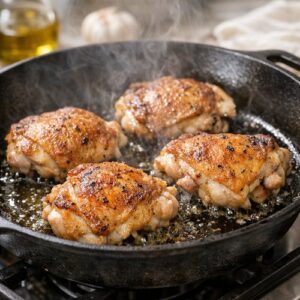
Step 3: Sear the Chicken—This Is Where Magic Begins
- Heat a large cast-iron skillet (or heavy-bottomed stainless steel) over medium heat for two full minutes. You want it genuinely hot. Add your olive oil and wait 30 seconds for it to shimmer. This is where French technique meets California timing: proper searing at high heat, but we keep it brief. Place your thighs skin-side down in the hot skillet. Do not move them. Resist the urge. Let them sit undisturbed for 7 to 8 minutes while that skin renders and crisps into a mahogany-colored shield. You'll hear the sizzle—that's the water content evaporating and the Maillard reaction creating hundreds of new flavor compounds. After 7-8 minutes, flip each thigh carefully and cook the second side for 15 to 25 minutes, depending on thickness, until the internal temperature reaches 165°F (use an instant-read thermometer—this is non-negotiable for food safety). The chicken will likely finish cooking in 18-20 minutes if your thighs are medium-sized. Expert's Nutritional Tip: Chicken thighs contain significantly more selenium, zinc, and B vitamins than breasts, making them nutritionally superior despite the higher fat content. That fat is primarily unsaturated when you choose quality birds, and the fat-soluble vitamins it carries make those nutrients bioavailable. Translation: this isn't indulgence at the expense of health—it's health presented as dinner. Transfer your cooked chicken to a clean plate and tent with foil. Don't cover it tightly—you want the steam to escape so the skin stays crispy. The residual heat is still cooking it slightly, which is fine.
Step 4: Build Your Aromatic Base—The Heart of French Technique
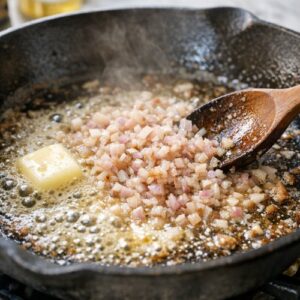
- Without draining the fat (that's flavor gold), add your butter to the same skillet over medium heat. Let it foam. Add your minced shallot and cook for exactly 1 minute, stirring occasionally. You want the shallot translucent, not golden—we're not making brown butter here. After 1 minute, add your minced fresh garlic and cook for another 30 seconds, just until fragrant. This is the French mirepoix moment executed in California time: maximum flavor impact, minimum cooking time. The shallot and garlic will release their aromatic compounds into the fat, which becomes your flavor vehicle for everything that follows.
Step 5: Deglaze and Build Your Sauce Structure
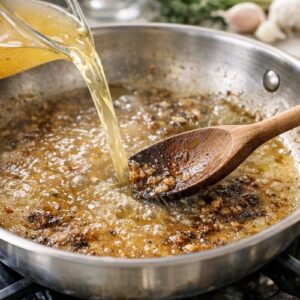
- Pour in your chicken broth and scrape the bottom of the pan with a wooden spoon, loosening all those caramelized bits. This is deglazing—pure French technique—and those bits contain concentrated Maillard compounds that are essential to sauce depth. Add your fresh lemon juice (never use bottled—the acidity profile is wrong) and your fresh thyme sprigs. Add your crushed red pepper flakes if you're using them. Reduce the heat to low and let this mixture simmer for 2 minutes while you're preparing the next step. The sauce should smell bright, aromatic, and complex.
Step 6: Introduce the Cream—The Fusion Moment
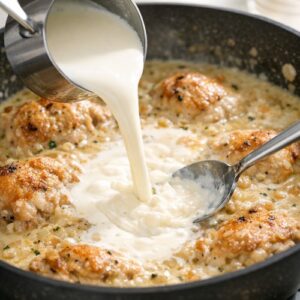
- Slowly pour in your heavy cream while stirring constantly. Constant stirring prevents the dairy from "breaking" and becoming grainy. This is the moment where French richness meets California restraint: we're using cream, yes, but in proportion with broth rather than as the sauce base. Stir for about 30 seconds after the cream is fully incorporated, then add your chicken back to the pan. Let everything simmer together for about 5 minutes, stirring occasionally, until the sauce thickens slightly—you're looking for a consistency that coats the back of a spoon. The sauce will continue to thicken slightly as it cools, so don't over-reduce or you'll end up with something resembling pudding.
Step 7: Finish and Serve with Intention
- Remove from heat. Taste and adjust seasoning—you might need a pinch more salt or a squeeze more lemon, depending on your broth. Scatter fresh flat-leaf parsley over the top. This final herb garnish serves two purposes: it adds a fresh aromatic note that prevents the dish from feeling heavy, and it's visually stunning. Serve immediately while the sauce is still flowing and the chicken skin is still crispy. As someone who's watched countless families find connection around the dinner table, I can tell you that this dish does that work beautifully.